Webpack安装说明

以前传统开发,我们会用到许多大大小小的Js/Css/img,通常是各自存放在归属目录,需要的时候再引入,不同的页面可以引入不同的档案,相对的档案一多,就很难做管理,而有了WebPack帮助开发模组化,可以提升许多效率。
安装步骤
首先,先在终端机上输入npm init -y可以快速创建package.json档,然后加入html与javascript档案,资料结构如图所示: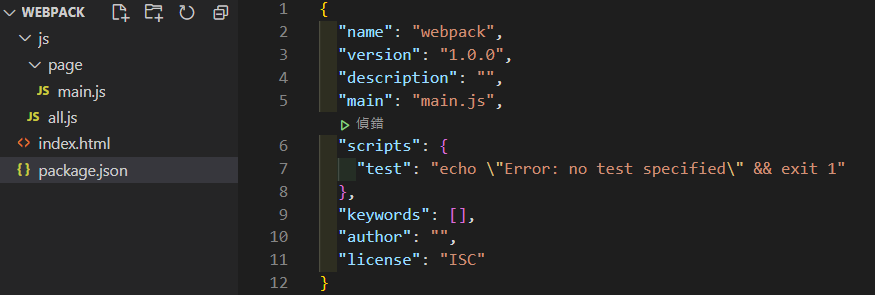
并且安装webpack-cli
npm install webpack webpack-cli安装完毕后,在主目录建立webpack.config.js进行初始化的设置。首先我们进入webpack.config.js这只设定档,并做以下设定:
const path = require('path');module.exports = { entry: './js/all.js', output: { path: path.resolve(__dirname, 'build'), filename: 'bundle.js', },};并且在package.json内,加入"build": "webpack",即可用webpack来执行打包程序:
"scripts": { "test": "echo \"Error: no test specified\" && exit 1", "build": "webpack" },接着回到 index.html ,引用我们打包后的 bundle.js 档案
<!DOCTYPE html><html lang="en"><head> <meta charset="UTF-8"> <meta http-equiv="X-UA-Compatible" content="IE=edge"> <meta name="viewport" content="width=device-width, initial-scale=1.0"> <title>Document</title></head><body> <script src="./build/bundle.js"></script></body></html>这时我们来实际操作一遍程式範例,再main.js输入下列程式码
const math = 'Hello My name is Jack'function double(num){ return num*2; }function triple(num){ return num*3; }export { double, triple, math};接着再all.js中import引入main.js和jqery,看结果会呈现什么样子
import $ from 'jquery'import * as main from './page/main.js'$('body').html('hello World!')console.log(main);console.log(main.math);console.log(main.triple(10));console.log(main.double(5));输入下列指令即可打包
npm run build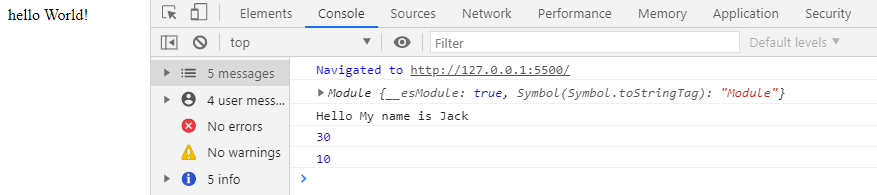
 微信扫一扫打赏
 支付宝扫一扫打赏


